It’s Christmas in July season, which means we are less than halfway to Christmas! Though it may seem a ways away, before you know it, Halloween and Thanksgiving will have passed and mid-December will be here, which doesn’t give much time to make your handcrafted gifts and decorations for the Christmas season!
To help you get started early, we’ve assembled a list of DIY projects and gifts that you can get crafting on now to complete by Christmas.
DIYs include sentimental gifts, such as a Christmas card memory book containing holiday cards from previous years, and a family portrait snow globe containing your favorite photo of the family.
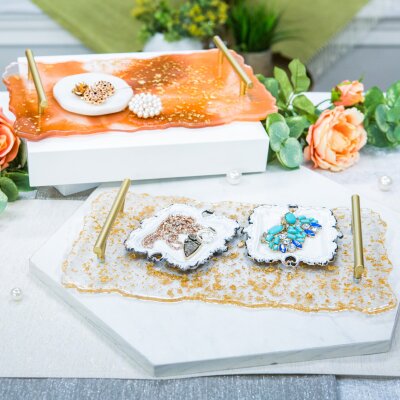
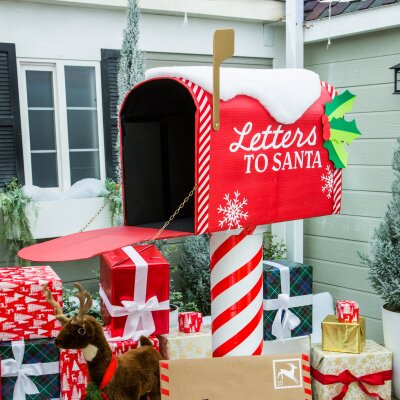
Create a set of floral diffusers or DIY metal stamped spoons to go with your hot chocolate mix gifts for friends, or make a custom resin tray or table runner for your hostess. Wow the neighbors with life-size nutcrackers, DIY Santa sleigh, and entertain guests with a (frozen) hot chocolate bar.