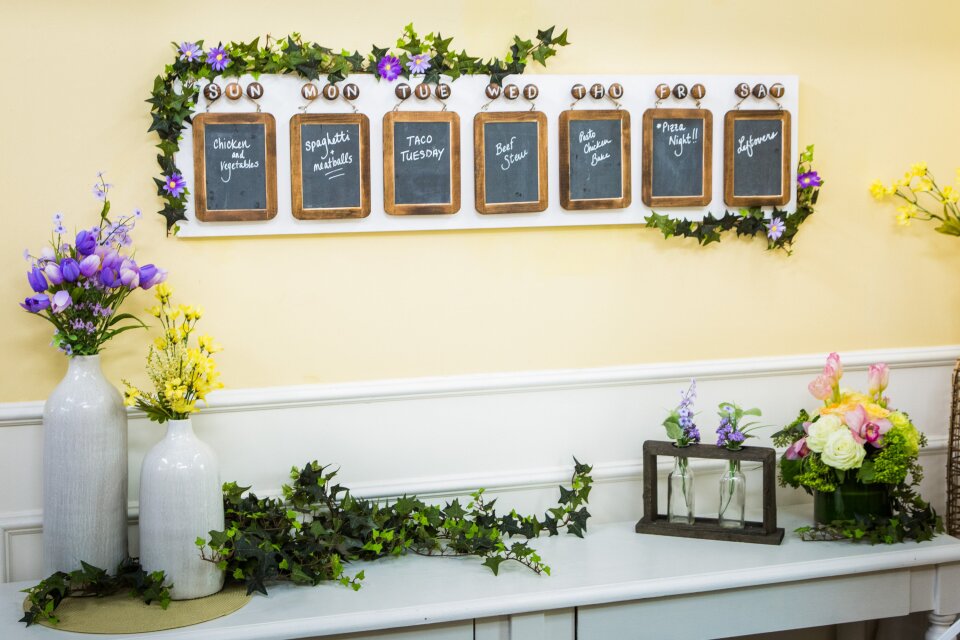
Materials
- Tape Measure
- Pine wood board
- Chalkboards
- Twine
- Paint
- Stain
- Knobs
- Drill
- Wood Paint or Hot glue
- French Cleat
- Acrylic Marker or Sharpie
Directions
1. The first thing you want to do is decide how big you want your pine board to be. If you’re using 7 chalkboards basically count for 9 on the board so you have enough room in between. Also, you can have your local hardware store cut to your size
2. Then it’s time to paint. Paint your board with a paintbrush, or stain if you prefer
3. If your chalkboards have wooden borders now is the time to paint those too
4. Once everything is stained & painted you need to figure out the spacing between your chalkboards before hanging them. I lined up all my knobs & measured 7 inches from every middle knob & marked it on the board
5. Using an acrylic marker or sharpie, write on the letters of the week to the knobs
6. Now it’s time to attach the knobs on the board
7. You can drill in the middle knob because that’s the one your chalkboards will be hanging from. For the other 2 knobs hot glue on or wood glue on
8. Finally it’s time for your chalkboard
9. Take 2 eye hooks & screw them into the left & right top corners of the chalkboards
10. Using twine wrap around the eye hooks
11. Then hang your chalkboards from your middle knob!
12. Start meal planning!!!


