

DIY Nail Art Phone Cases
Level:
Beginner
How-To:
DIY
Orly Shani shows how to customize your phone with DIY Nail Art Phone Cases.
MATERIALS:
- Nail polish in various colors and textures like glitter polish
- Plain plastic phone case
OPTIONAL:
TO CREATE THE DRIP ART PHONE CASE
- Paper to lay down on work surface
TO CREATE THE STRIPED PHONE CASE
- 1/8” or 1/4” wide masking tape
TO CREATE THE CONFETTI PHONE CASE
- Confetti in fun shapes like stars or hearts
DIY Nail Polish Phone Cases - Home & Family
INSTRUCTIONS:
TO CREATE THE DRIP ART PHONE CASE
- Make sure the phone case is clean and dry then place it in the center of your workspace, back side up.
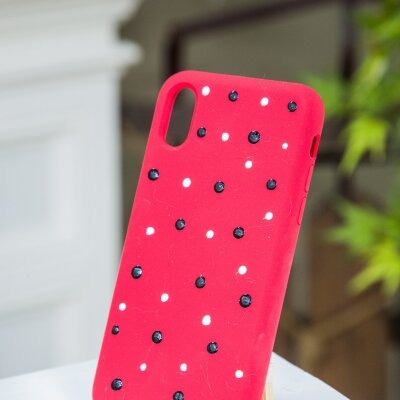
- There are two techniques for this, the drip dots and the drip lines.
- To create the dots, open your nail polish and dip the brush so it’s got a lot of paint. As you pull out the brush press it against one side of the bottle to wipe some of the excess off.
- Hold the brush directly above where you want to place a dot and let the paint drip onto the spot.
- Repeat this process until you’ve added as many dots as you want!
- To create the lines, dip the brush into the nail polish to get an excess of paint on the brush.
- Start on the paper, off to the side of the phone case to get the drip going then wave it back and forth over the case. Do this in multiple colors if desired.
- Allow the paint to dry completely before moving or using the phone case, enjoy!
TO CREATE THE STRIPED PHONE CASE
- Take the tape and create the pattern you want. Make sure it is smoothed down on the case well, so you don’t get paint underneath.
- Paint the nail polish in desired places on the phone.
- Allow to dry completely before use and enjoy!
TO CREATE THE CONFETTI PHONE CASE
- Place each piece confetti in place.
- Hold the confetti in place and paint clear nail polish over it, if you’re using glitter nail polish that works too! Allow it to dry.
- Add a layer of nail polish all over the case.
- Allow the case to dry completely before use and enjoy!
