
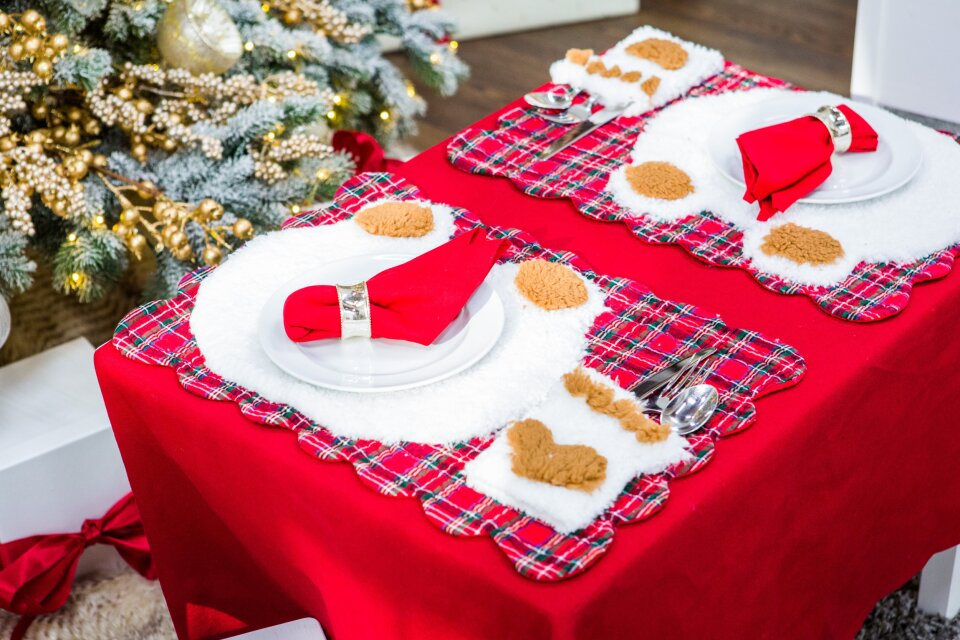

DIY Sherpa Bear Placemats
Level:
Beginner
How-To:
Kids, Home Decor
Seasonal Event:
Christmas
MATERIALS:
- Shearling fabric in two colors like white and camel brown
- Download templates here
- Fabric scissors
- Fabri-tac
- Fabric chalk or marker
- Ruler
- Paper scissors
- Optional:
- Existing placemats
INSTRUCTIONS:
- Print the templates and cut them out with paper scissors. (Download templates here)
- Trace bear head template onto the wrong, not fuzzy, side of the lighter fabric. Trace then cut out with fabric scissors. PRO TIP: You can make the darker fabric the base color instead of the light if desired, just cut the details out of the lighter fabric then.
- Trace the detail templates onto the wrong, not fuzzy side of the darker fabric and cut out. PRO TIP: Again, you can make the lighter fabric the details, just make the head and paw out of the darker fabric then.
- Glue the ear details in place on the right, fuzzy side of the fabric of the head.
- To finish the paw utensil holder, fold the fabric in half right, fuzzy side facing out and glue the bottom and open side together, leave the top open.
- Glue the paw details onto the utensil holder.
- Allow the glue to dry for 24 hours, set these placemats on top of your existing placemats or just down on the table. PRO TIP: The shearling will cling to the fabric of the placemat and stay in place, so you don’t have to glue to your existing placemats!
- Set the table and enjoy!
