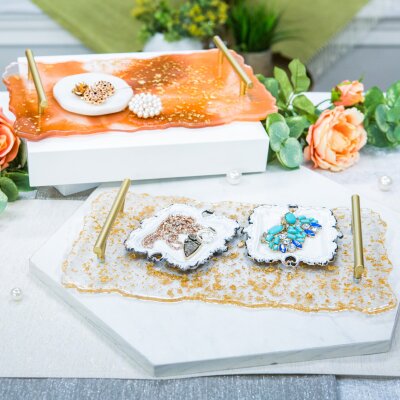
DIY Resin Trays
Level:
Intermediate
How-To:
Home Decor
MATERIALS:
- Resin
- Irregular silicone tray mold or a silicone mat and hot glue
- Metallic resin flakes
- Acrylic paint
- Clear plastic mixing cups
- Stir sticks or large popsicle sticks
- Disposable gloves
- Handle set
- Drill with drill bit to size of handle screw
INSTRUCTIONS:
- Mix the clear base resin up. One container for each color, one clear and one for metallic flakes if you’re using them. Make sure to follow the resin brand’s instructions and wear gloves. PRO TIP: if you are going to create your own mold with a silicone mat and hot glue instead of purchasing, do so before this step.
- Mix any additives you want in like acrylic paint for color or the metallic flakes. Stir until thoroughly blended in.
- Freely pour the colorful resin into the mold first in an abstract pattern. Move the mold around to spread.
- Pour the clear resin into the mold then move around to blend the resin a little. You don’t want it to get muddy, just blur the lines a bit.
- Add the metallic resin mix if desired. Move the mold around to spread.
- Allow the resin to cure in the mold for at least 24 hours.
- Attach the handles according to instructions and enjoy!


