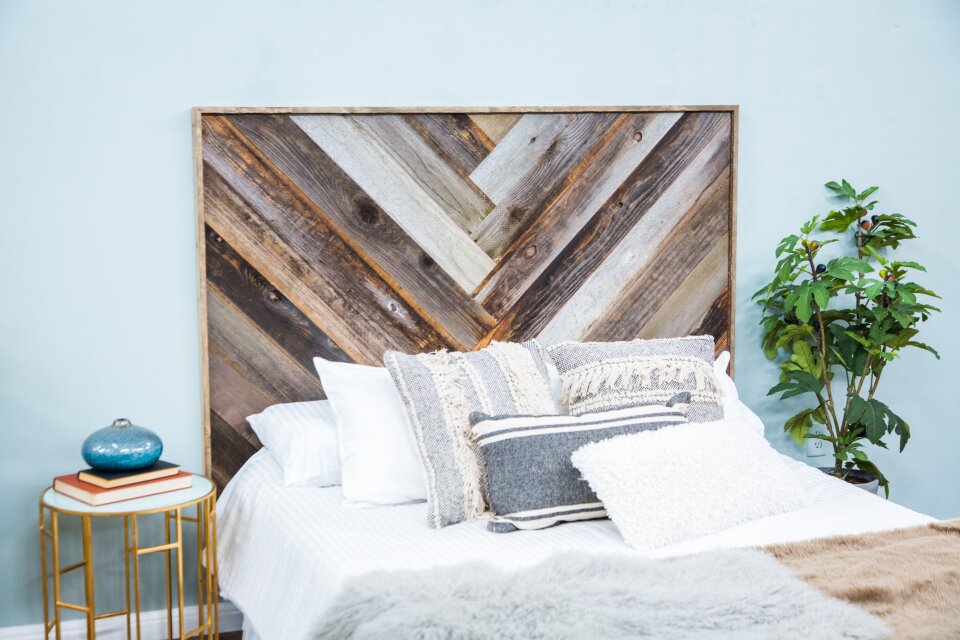
MATERIALS:
- ¾” Plywood cut to: 48” x 66”
- Reclaimed wood planks cut to 4’ 9” or long enough to extend past the edge of the plywood when in place
- 1” x 3” cut to: 50” x2 with 45-degree angle
- 1” x 3” cut to: 68” x2 with 45-degree angle
- French cleat that is large enough for the headboard
- Circular Saw
- Miter saw or box with handsaw
- Nail gun
- Speed square
- Tape measure
- Large metal straight edge
- Pencil
OPTIONAL:
- Wood glue
INSTRUCTIONS:
1. Cut all your wood to size. The dimensions will depend on the size of bed you’re creating this headboard for. Ours fits a queen mattress.
PRO TIP: If you want to have the wood cut at a hardware store, just do butt joints for the 1” x 3” border, the cuts will change to 66” x2, 48” x2.
2. To create the Chevron pattern, mark the center of the plywood base and the face of the first plank you are going to place.
3. Next line the center of the plank up with the center of your plywood base and use your speed square to make sure the plank is positioned at 45-degree angle from where the center marks are lined up.
4. Secure the plank in place by nailing through the face into the plywood base with the nail gun in multiple places.
PRO TIP: Apply wood glue for extra security.
5. Now that you have one plank in place, you don’t have to measure anything else! Place the rest of the planks butted up against each other in a “V” shape to complete the Chevron pattern. Secure with nail gun.
PRO TIP: There are no angled cuts necessary to create the point of the “V” just line the short end of the opposite plank up to the long outside edge of the first plank, this will naturally create a 45-degree angle.
6. Use a straight edge to mark a line on the overhanging planks to the size of the plywood base.
7. Cut off the excess wood with your circular saw.
8. Attach the 1” x 3” framing to the edges of your headboard with the nail gun.
9. Hang your headboard in place on the wall using a large french cleat according to the instructions and enjoy!


