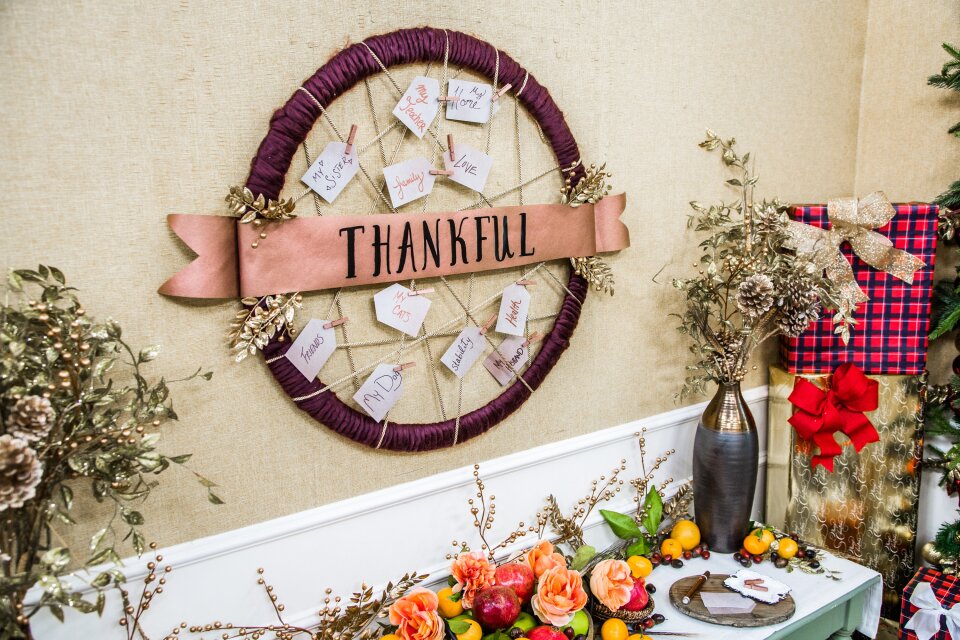
DIY Gratitude Dream Catcher
Level:
Intermediate
How-To:
Decor
Seasonal Event:
Thanksgiving
MATERIALS:
- Wreath Frame
- Chunky Yarn
- Thin Yarn or cord
- Felt
- Metallic Letters
- Blank Hang Tags
- Embellishments
- Glue Gun
DIRECTIONS:
- Wrap a wreath frame using pre-cut segments of chunky yarn until the frame is no longer visible. Be sure to tie the yarn securely to the frame at before you begin wrapping and again when each segment ends.
- Take the thinner of your two yarns/cording and cut segments that are slightly longer than the wreath is wide. Tie one side of the yarn to the wireframe, pull it until it is taught, and tie the other to a point on the opposite side. Allow these yarn segments crisscross, and weave in-and-out so that the webbing has a more organic feel. Don’t forget to trim off any excess yarn.
- For the banner, pick out a word that embodies your theme, and using felt cut out enough banner segments so that each letter has its own piece.
- Hot-glue the metallic letters on to the felt and use them to spell out your word on the webbing – again using hot glue to secure them.
- Take hang- tags with a hole punched out of the top and ask your family members to write what they are most thankful for on them. You can also write your own words of thanks. A metallic paint marker works well.
- With a think piece of yarn or cord, tie the notes of thanks onto the dreamcatcher webbing.
- Finish by using hot glue to add any seasonal embellishments you might like.


