
Materials
- Popsicle sticks
- Plastic mixing cups
- Gloves
- Painters Tape with leak proof seal; depending on the project
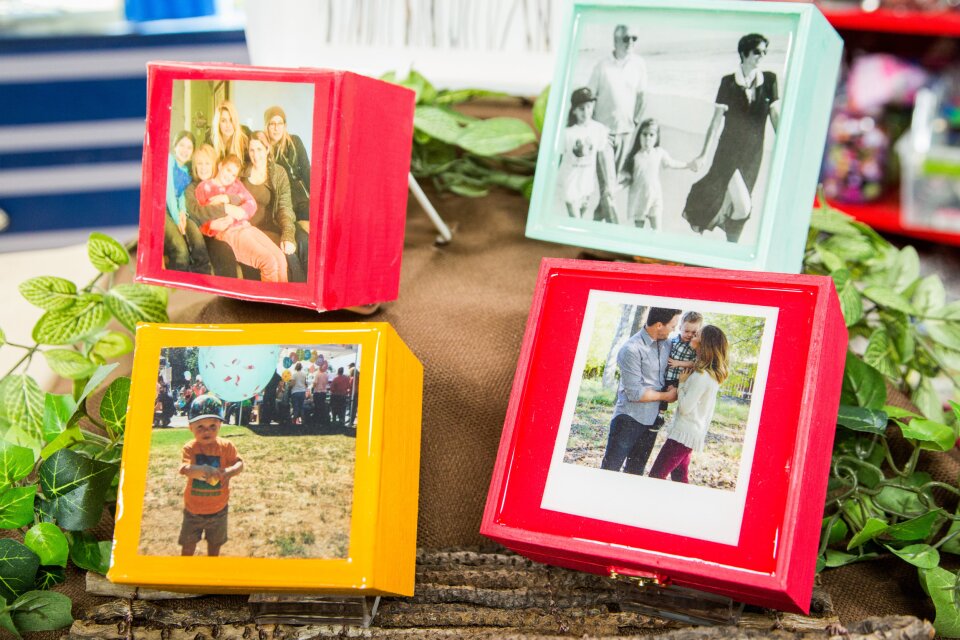
- Jewelry/jewelry box/tray/bracelet mold
Steps
• Work in a well ventilated area, and be sure to wear gloves; not recommended for kids or pregnant women
• Make sure to read the instructions on the box before starting; generally it is recommended to work in a warm space; you also do not want to work with cold epoxy, so place the bottles in a container of warm (not hot) water for a bit before mixing
• Generally speaking there is a bottle with epoxy resin and the hardener; measure out equal parts in separate containers, then combine the two together
• Mix slowly and continuously for a few minutes; it will start out looking cloudy, but as you mix, it will become more clear, which is what you want; try to mix gently to prevent bubbles
• Allow it to sit for a few minutes to let the bubbles rise
• Prepare the item you plan to pour to epoxy in; if doing a jewelry box, make sure to line the area around the top with painter’s tape that has the leak proof seal
• Pour the mixed epoxy into the mold, etc.
• Allow to sit for a few minutes; then use a straw to blow out the bubbles
• If making a paper weight, or bracelet, it helps to pour the epoxy half way up, wait an hour or so, then place in the flowers, or whatever items you decided, if using, in, and mix up some more epoxy to fill the rest of it
• Keep the item on a level surface; epoxy is self-leveling, meaning it will dry flat and even
• Allow to dry at least 24 hours
Epoxy Resin Plus Hardener (This usually comes in a kit); make sure to read the instructions to see if you need to mix in anything else
Return to the Episode Guide >>
Check out more fun DIY projrects at the Home & Family Pinterest Page
