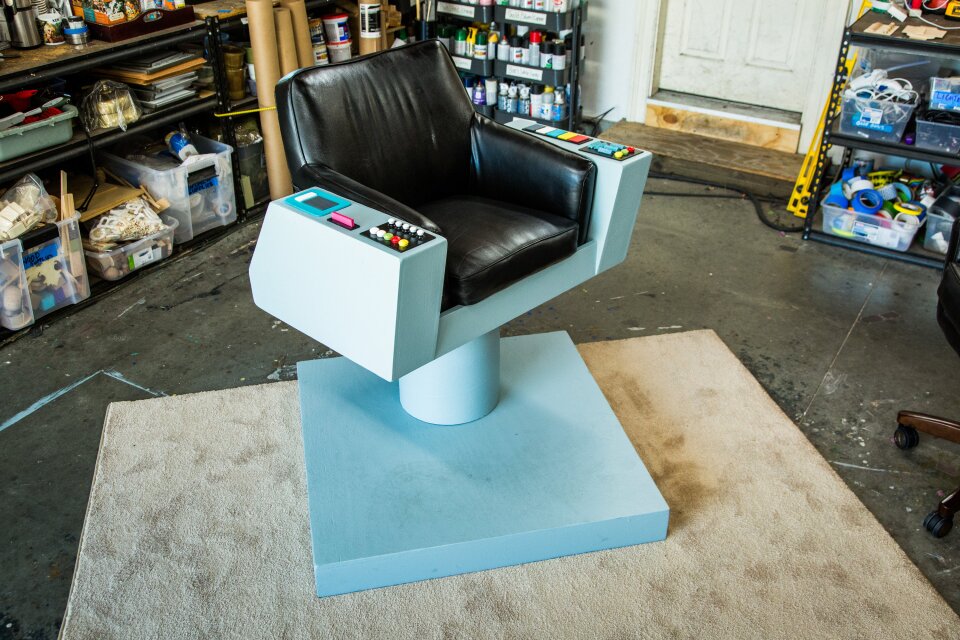
Materials
- Swivel Task Chair (black leather or vinyl, short backed)
- ¾” plywood
- 1/2” plywood
- 1x4” board
- 1x5” board
- wood glue
- jigsaw
- nail gun
- L brackets
- wood putty or spackle
Directions
1- First, create the base. Measure the length and width of your chair. Cut ¾” plywood to that size. Along the front and back of your base, glue and nail two lengths of 1 x4”. These will create a lip for your chair to sit in.
2- Next create the arms for your chair. Measure the height of the chair sides. Cut two pieces
of ½” plywood to that height and length of chair sides.
3- On the plywood, draw the distinct pattern unique to the Captain’s chair. Cut both pieces
out.
4- Cut the 1x5” board to fit each edge of the plywood. If your comfortable cutting angles, do
so (ours were 12degrees and 55 degrees). If not comfortable cutting angles, just flat edge the
pieces, you can fill the gaps later with wood putty.
5- Now attach the second piece plywood on.
6- Repeat steps 2-4 to create your second arm.
7- Attach arms to either side of base with glue and L brackets.
8- Remove swivel support from chair.
9- Screw swivel support centered underneath your new chair base.
10-Spackle and sand base where needed, and paint.
11-Once dry, place your chair into the base.
12-Create the computer details on the arms by gluing on found objects (bottle caps, buttons
etc).
Get more information about this episode >>
Check out more fun DIY projects at the Home & Family Pinterest Page


