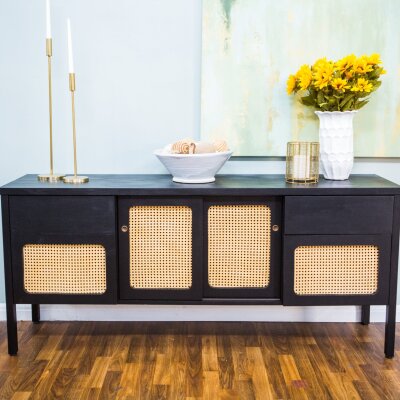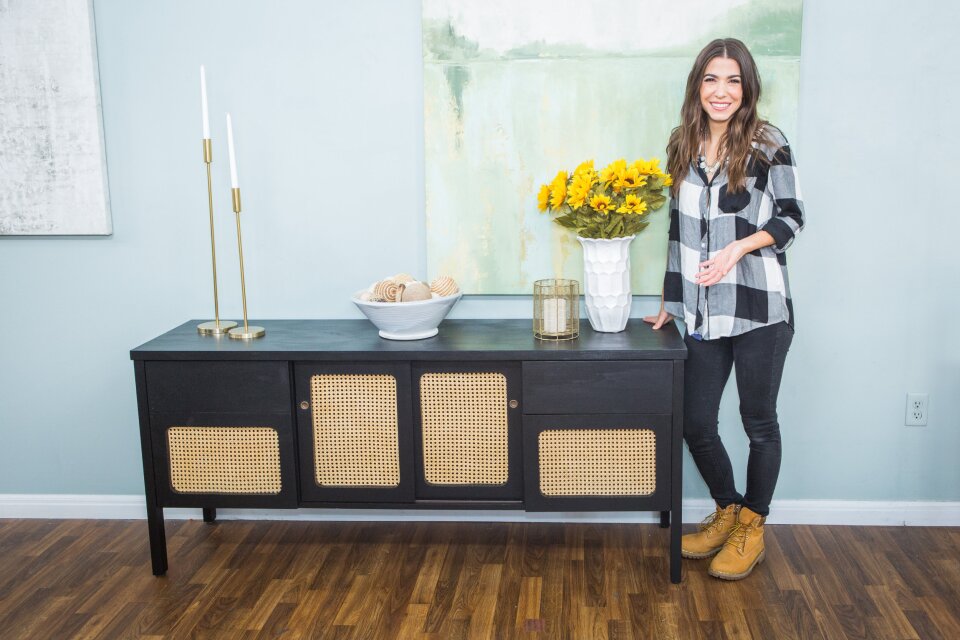
DIY Cane Furniture Refresh
Level:
Advanced
How-To:
Home Decor
MATERIALS:
- Cane webbing
- Furniture piece like credenza to refresh
- Staple gun and staples
- Paint
- Paintbrushes or roller
- Safety glasses
- Heavy-duty scissors
- Jigsaw
- Wood jigsaw blades, thin and normal thickness
- Drill
- Drill bit at least ¾” diameter
- Sanding block
- Tape measure and straight edge
- Pencil
- Canvas puller, clamp or an extra pair of helpful hands
OPTIONAL:
- Light wood stain
- Tape
INSTRUCTIONS:
- Remove the doors and drawers from furniture piece.
- Measure to determine how much you can cut out of the front of each piece while retaining structural integrity and hardware. Draw out your lines for cutting with a straight edge and pencil.
- Measure and draw out all the cut outs to the same inset on each piece. For example, if you cut a 2” inset rectangle on one door, cut 2” inset on the rest even if they’re a different shape and size.
- If you want to round the corners of your cuts, use a cup or other circular object to trace on each corner.
- To make your cuts, drill four pilot holes and cut all your straight cuts with a normal jigsaw blade.
- Round the corners with a thinner jigsaw blade.
- Sand the edges of your cuts.
- Paint the dresser. Allow to dry.
- Cut your pieces of cane webbing a few inches larger on each side than each cut out in the furniture pieces and line it up on the backside of the piece.
- Attach the cane webbing with a staple gun to the backside of the doors and drawers. Pull it taut with a pair of helpful hands or a clamp as you staple.
- If you want to add stain to the cane webbing, buff it in with a paintbrush using forceful, fast strokes. Allow to dry. PRO TIP: staining can be done before or after you attach the cane webbing to the furniture pieces.
- Place the drawers and the doors back in the furniture piece and enjoy!


