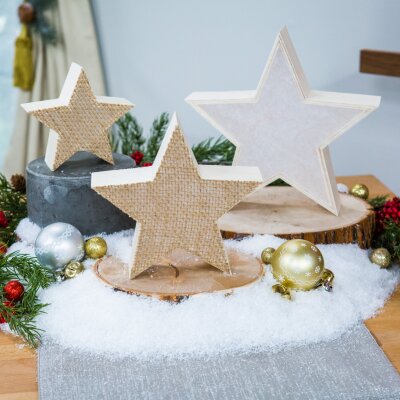
DIY Burlap Star Luminaries
Level:
Beginner
How-To:
Home Decor
Seasonal Event:
Christmas
MATERIALS:
- Wooden star frames
- Tracing paper
- Burlap
- Led fairy lights
- Spray adhesive
- Fabri-tac
- X-acto knife
- Cutting mat
INSTRUCTIONS:
- If creating the burlap covered star, spray adhesive onto the burlap and lay the tracing paper on. Press and smooth to adhere well. You can skip this step and just use tracing paper for a more minimal look.
- Apply fabri-tac to the front edge of the star, place the burlap with tracing paper on top then press and smooth to make sure it adheres well.
- Flip the star fabric side down onto your cutting mat and use the edges of the star as your guide to cut as close to the edge as possible with an x-acto.
- Place the fairy lights inside the star frame, arrange and bend them as desired. Leave the battery pack outside of the star. PRO TIP: Do this with the lights turned on. It will allow you to see how you want them arranged for the best effect.
- Lay a line of fabri-tac on the back edge of the star and place a piece of tracing paper on. Press and smooth to adhere well.
- Place the star back side down on the cutting mat and cut the tracing paper to the edge of the star. Make sure to avoid the cord of the lights.
- Repeat steps 1-6 to create as many star luminaries as desired, place in your décor and enjoy!


